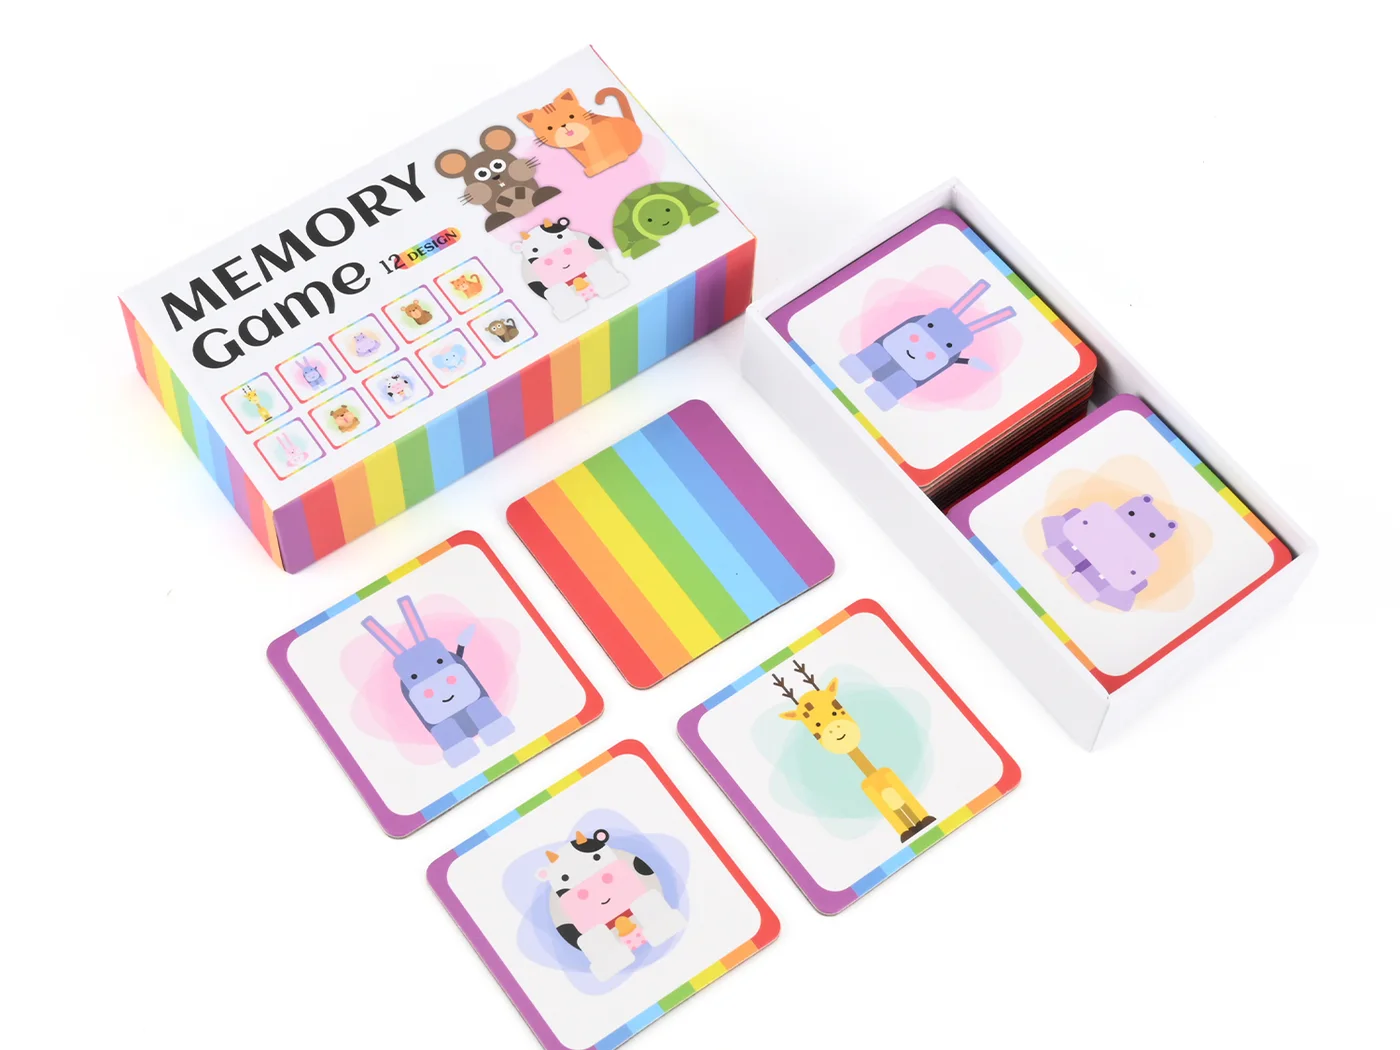
Short Answer
This guide uses “memory card matching game” to mean a printed tabletop card game, not an SD card, flash memory card, or other electronic storage product.
Prepare the game as a controlled set of card faces, card backs, and packaging files rather than as a folder of unrelated images. Confirm the number of matching pairs, total game cards, title or instruction cards, finished size, corner shape, and packaging before placing artwork on approved dielines.
Each pair needs an unmistakable file relationship. Cards that remain face down should normally use the same approved back design, orientation, and color. Extend backgrounds into the required bleed, keep essential details inside the safe area, and check every file at final printed size.
- A card list showing pair number, front file, quantity, and back assignment.
- One approved file for each unique face.
- The shared back file or a documented back-variation plan.
- Separate box, sleeve, insert, and instruction files on the correct dielines.
- A visual map or contact sheet for checking the complete set.
- Print-ready PDFs plus editable source files and linked assets when requested.
Do not assume one universal bleed, safe area, color profile, or PDF preset. Follow the instructions for the confirmed size, corner radius, paper, printing method, and package.
First Define the Game Structure
A Memory Card matching game is usually organized by pairs. That changes how files should be named, counted, proofed, and packed compared with a Flash Card deck organized by prompts, answers, categories, or a learning sequence.
- Confirm the number of matching pairs and total game cards.
- State whether a pair uses identical or related images.
- List title, instruction, answer, category, or promotional cards.
- Confirm whether every game card shares one back design.
- Identify every language or market version.
- Confirm card size and corner treatment.
For example, 24 matching pairs normally require 48 game cards. A title card and instruction card increase the physical deck to 50 cards. Quotation, box depth, packing count, and artwork control should use the total physical card count, not only the pair count.
For related-image pairs, document the relationship. A language game might pair an image with a word, while a nature game might pair an animal with its habitat. The printer cannot infer these relationships from appearance alone.
For product-selection guidance, read Memory Cards vs Flash Cards: Custom Printing Differences.
Build a Card List Before Exporting
The card list is the control document for the project. It helps the buyer, designer, printer, and packing team confirm that every pair appears in the correct quantity.
| Pair ID | Front A file | Front B file | Qty each | Back file | Notes |
|---|---|---|---|---|---|
| P01 | P01-A-apple.pdf | P01-B-apple.pdf | 1 | BACK-01.pdf | Identical image pair |
| P02 | P02-A-cat.pdf | P02-B-word-cat.pdf | 1 | BACK-01.pdf | Image and word pair |
| P03 | P03-A-red.pdf | P03-B-strawberry.pdf | 1 | BACK-01.pdf | Concept pair |
If two cards are identical, provide A and B files or list one face file with a print quantity of two. Choose one method and use it consistently. Identify non-pair cards with clear names such as TITLE-01 or INSTRUCTION-01.
Use a Consistent File-Naming System
File names should remain understandable after download or when viewed without thumbnails. A practical pattern is Project-Pair-Side-Description-Version.
Forest-P01-A-Fox-v03.pdfForest-P01-B-Fox-v03.pdfForest-P02-A-Owl-v02.pdfForest-BACK-Shared-v05.pdfForest-BOX-Lid-v04.pdf
Avoid folders containing names such as “Card1-final,” “Card1-final2,” and “Card1-new-final.” Keep one approved version in the release folder and archive earlier files elsewhere. Add language or market codes when several versions share the same images.
Set Up Card Faces on the Approved Dieline
The confirmed dieline should define trim, bleed, safe area, corner radius, and required technical marks. South Print commonly discusses sizes such as 57 x 87 mm, 100 x 100 mm, and 70 x 120 mm, plus custom sizes. These are planning references, not interchangeable artwork templates.
Extend backgrounds into the bleed
Colors, photographs, illustrations, and patterns intended to reach the cut edge should continue beyond the trim line into the specified bleed. Extend the original composition rather than stretching a narrow border after the layout is complete.
Keep important content inside the safe area
Faces, eyes, icons, words, numbers, logos, and other essential details should stay within the approved safe area. Rounded corners can remove more visual space than a rectangular screen preview suggests. Narrow borders parallel to the cut edge can also make normal cutting variation more visible.
Confirm orientation
Use one documented orientation for faces and backs. If the shared back contains directional text or artwork, define the top edge. A rotated back can make the deck inconsistent or reveal a card during play.
Design the Common Back Carefully
When cards are face down, unintended differences can reveal card identity. For a standard matching game, confirm that every game card uses the same approved back unless variations are intentional.
- Use one centered orientation and consistent color or pattern.
- Remove pair numbers, file names, notes, and version labels from the printed area.
- Avoid hairline frames that may look uneven after cutting.
- Check how the pattern works with rounded corners.
- Document any different title or instruction-card backs in the card list.
Check Images at Final Printed Size
An image can look sharp on screen but become soft when enlarged to the final card size. Check effective resolution after scaling and cropping, not only the original file setting.
Around 300 ppi at final printed size is a common target for detailed color images, but follow the printer's instructions. Logos, line art, and small text are generally better kept as vector elements when possible. Changing a resolution field does not create missing detail unless the image is resampled.
- Check compression artifacts and messaging-app or web images.
- Confirm cropping keeps the visual clues required to identify pairs.
- Compare sharpness across the whole deck.
- Apply filters and color correction consistently.
Manage Color Across the Deck
A matching game may contain many images, making inconsistent treatment noticeable. Use a consistent color workflow across faces, backs, packaging, and instructions. Confirm the printer's preferred color space and output instructions before final export.
Spot colors, metallic inks, fluorescent colors, and other special processes require separate confirmation. Screen appearance does not guarantee an exact printed match, and paper, coating, lamination, ink coverage, and production method can affect color. State exact brand-color requirements before sampling and define the approved reference.
Prepare Text and Learning Content
Educational games can contain spelling, vocabulary, numbers, categories, and instructions. These require editorial proofing as well as production review.
- Check spelling, capitalization, punctuation, translation, and number sequences.
- Confirm every word or answer matches its intended image.
- Keep type large enough for the target use and card size.
- Keep live text clear of trim and rounded corners.
- Outline fonts or package them as requested.
- Confirm commercial font and image rights.
The buyer should approve educational accuracy, claims, warnings, translations, age grading, and market-specific compliance text. Production file review does not replace legal or educational review.
Prepare Box and Instruction Artwork Separately
The card deck and package are separate components. Use the approved packaging dieline rather than placing a card-front image on a generic rectangle.
- Prepare every front, back, side, top, bottom, glue, tuck, or dust-flap panel.
- State product name, brand, pair count, and total card count correctly.
- Supply approved barcode, SKU, origin wording, warnings, and legal copy.
- Identify language versions and keep important content away from cuts, folds, glue, and closures.
Box depth depends on the physical stack, including total card count, paper thickness, finish, instructions, inserts, and packing method. A box template from another project may not fit even when the card dimensions match. Define whether instructions are a separate card, folded leaflet, booklet, or printed box panel.
See South Print's custom Memory Card matching game case.
Export a Clear Print Package
Follow the printer's requested export settings. A typical handoff may include print-ready PDFs, editable source files, linked images, fonts when licensing allows, and a visual reference.
- Remove hidden test elements and obsolete versions.
- Check page size, bleed, orientation, and page count.
- Embed or correctly link high-resolution images.
- Outline or package fonts as requested.
- Review transparency, overprint, and spot-color settings.
- Handle technical dieline layers according to instructions.
- Make sure every file name matches the card list.
Do not flatten everything automatically if doing so damages vector text, transparency, spot colors, or production layers. Retain editable source files for corrections.
Create a Visual Map for Proofing
A contact sheet or visual map shows every face in pair order. It does not replace print-ready files, but it makes missing, duplicated, mismatched, and rotated cards easier to find.
Show pair IDs, both cards in each pair, the shared back, title or instruction cards, total card count, and the language or version. For related-image pairs, add a note explaining the relationship. Ask a second reviewer to compare the map, card list, and final export folder.
Proof the Complete Product
- Pair logic: every required pair is complete.
- Quantity: each face is supplied in the intended count.
- Card backs: every card uses the assigned back.
- Orientation: faces, backs, box panels, and instructions align.
- Trim safety: important content remains clear of cuts and corners.
- Image quality: resolution and cropping suit the final size.
- Text: spelling, translation, numbers, claims, and instructions are approved.
- Packaging: pair count, total cards, barcode, and version match the deck.
- Physical fit: the stack, inserts, and box structure are confirmed.
A digital proof can confirm content and layout but may not fully represent paper feel, coating, color, thickness, corner cutting, box fit, or handling. Discuss a physical sample when those characteristics affect the buying decision.
Common Problems That Delay a Quote or Sample
- Stating only pair count and not total physical card count.
- Missing a card from a pair or supplying an unintended duplicate.
- Inconsistent back files or orientations.
- Important content too close to trim or rounded corners.
- Low-resolution web images enlarged to final size.
- Undocumented pair relationships.
- Box artwork finalized before card count, paper, and stack height.
- Barcode, QR code, language, or product count changed after approval.
- Several “final” folders with no clear approved version.
South Print's published Flash Card price is a standard Flash Card planning reference. It should not be applied to a Memory Card matching game, which is quoted from the actual pair count, total cards, size, paper, finish, package, quantity, packing, shipping terms, and destination.
What to Send for an Artwork Review and Quote
- Product type, pair count, and total physical card count.
- Finished card size and corner requirement.
- Card list, visual map, unique faces, and approved back file.
- Number of designs, languages, or market versions.
- Paper target, finish, and special processes.
- Box, sleeve, instructions, insert, barcode, and packing requirements.
- Quantity by design, delivery country, shipping term, and target timing.
If specifications are still being developed, send a reference product, approximate size, desired pair count, packaging direction, quantity, and destination. For the general checklist, read What Information Should You Send for a Custom Paper Product Quote?.
Practical Recommendation
Treat the card list as the source of truth. Confirm the game structure first, place every design on the approved card and packaging dielines, and use names that connect artwork to the pair list. Then proof the whole set as one product rather than approving cards one by one.
Do not finalize the box before card count, paper, finish, inserts, and stack height are confirmed. Send an early preview when file structure, image quality, corner safety, or package fit is uncertain.
Review South Print's custom Memory Card and card deck printing options. For more sourcing guides, visit the South Print blog.
FAQ
How should I name files for a Memory Card matching game?
Use a consistent pair ID, side, description, and version, such as P01-A-Fox-v03.pdf and P01-B-Fox-v03.pdf. Name the shared back, title card, instruction card, box, and language versions separately. Supply a card list that connects every file to its required print quantity.
Does a 24-pair Memory Card game contain 24 or 48 cards?
It normally contains 48 game cards because each pair has two cards. Add title, instruction, answer, or promotional cards to calculate the total physical card count used for quotation, box depth, and packing.
Should every Memory Card use the same back design?
Usually yes for a standard face-down matching game, because visible back differences can reveal card identity. If title, instruction, or special cards use another back, document the design and quantity clearly in the card list.
How much bleed should I add to matching card artwork?
Use the bleed shown on the printer's approved dieline for the confirmed card size and production method. Do not assume one universal value. Extend backgrounds beyond the trim line and keep essential content inside the specified safe area.
What image resolution should I use for printed Memory Cards?
Around 300 ppi at final printed size is a common target for detailed color images, but follow the printer's file instructions. Check effective resolution after scaling and cropping, and keep logos, line art, and small text as vector elements when possible.
What should be included in a Memory Card game artwork package?
Include the card list, every unique card face, the shared back, title or instruction cards, a visual map, packaging dieline files, print-ready PDFs, and editable source files or linked assets when requested. Also identify quantities, languages, versions, paper, finish, packing, and destination.